Getting Started
Creating a Simulator Project
Add Simulator Component to Your Library
First create a library as described in How to Create a Library manual.
To add a DynamicSimComponent model:
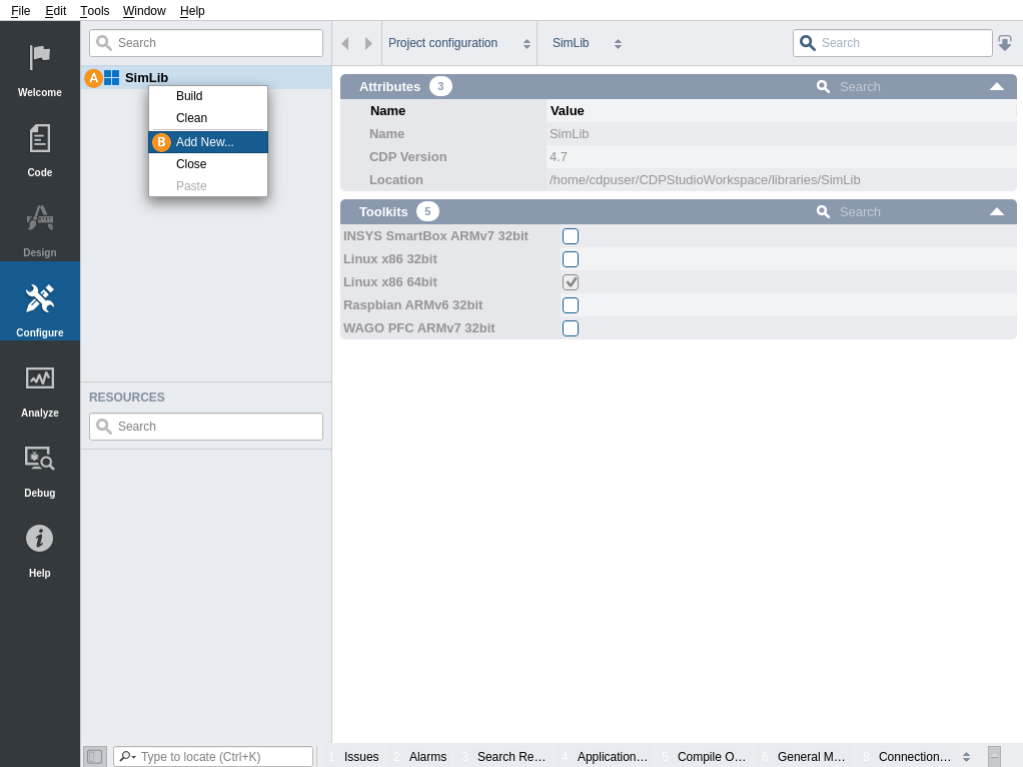
Right click on a library
Select Add new... option in the context menu.
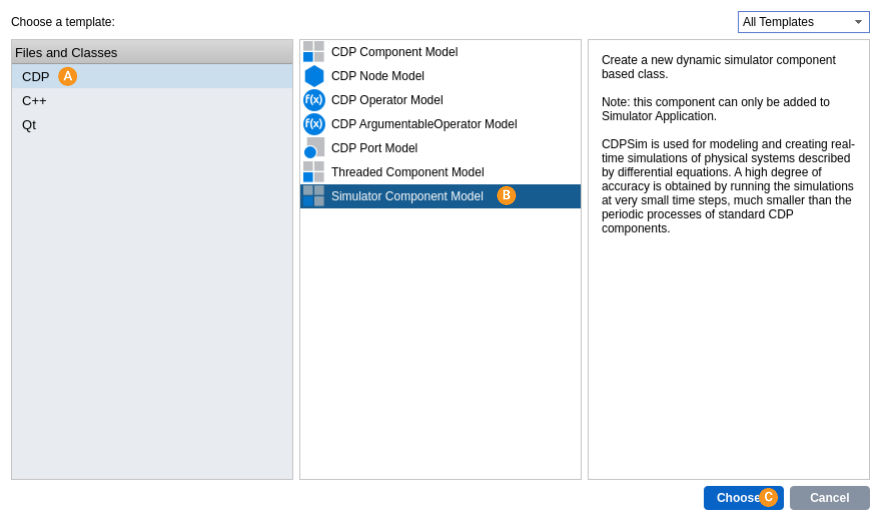
Select CDP from the left column.
Select Simulator Component Model from the middle column.
Click Choose...
- Type in the name (e.g. MySimulator and a description for the class.
- Add the created files to your version control system or just click Finish.
A simulator component model with the files MySimulator.cpp and MySimulator.h have been created. As an example, they contain one SimSignal and two StateVariables which can be removed or modified as needed. The MySimulator::EvaluteDiffEquations() method has been filled with sample code that calculates velocity and displacement based on acceleration. This should give an idea how to use CDPSim with differential equations.
When done, build the library.
Add Simulator Application
First create a system as described in How to Create a System manual. The default application added under the system can be removed if not needed for other purposes.
Next add a simulator application:
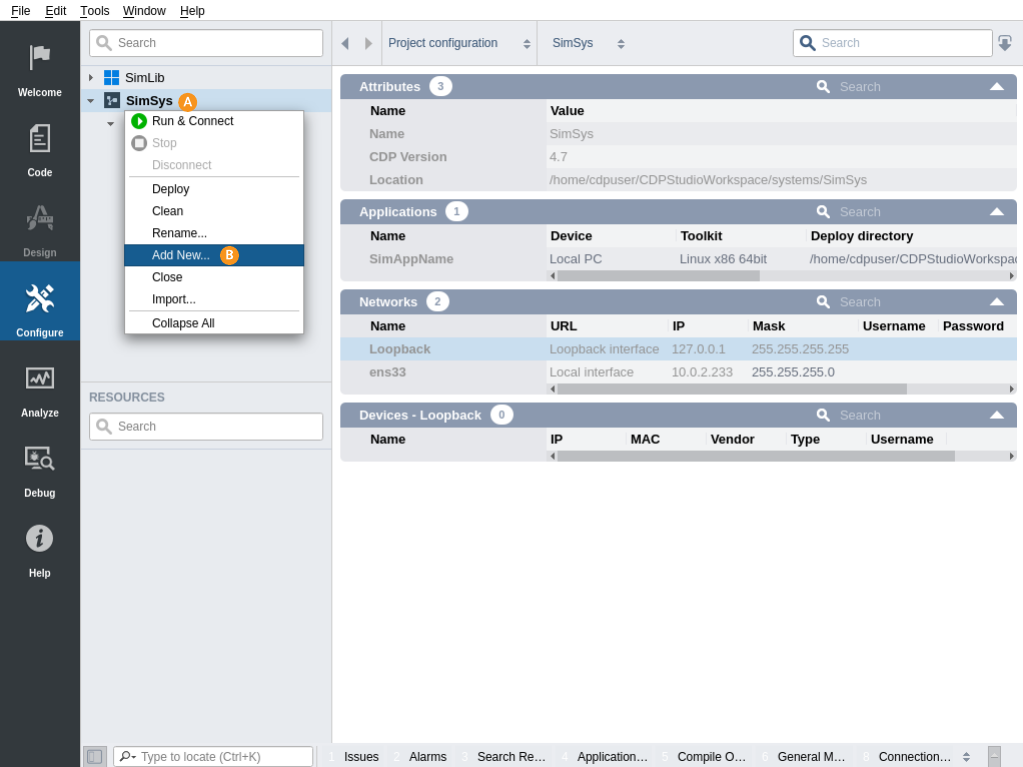
Right click on system name in the Project tree
Select Add new... option in the context menu.
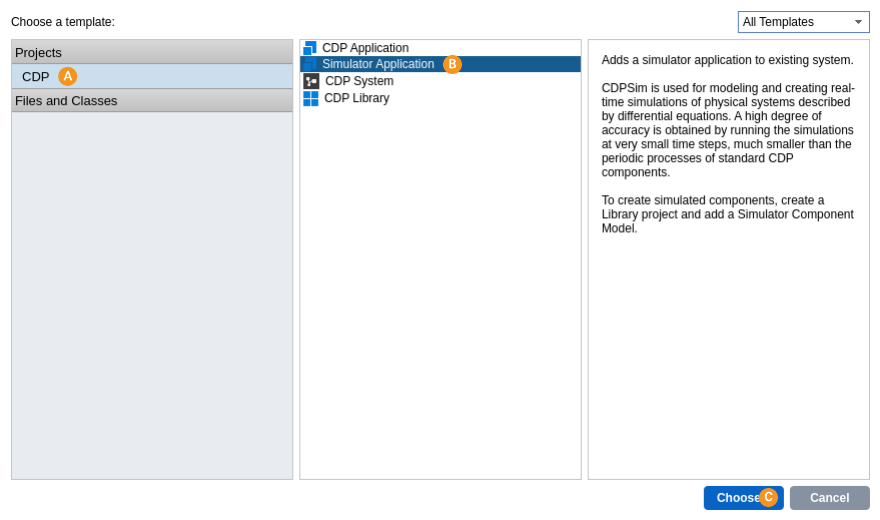
Select CDP from the left column.
Select Simulator Application from the middle column.
Click Choose...
- Set the name for the application and click Next.
- Add the created files to your version control system or just click Finish.
The simulator application is a special kind of CDP application:
- Simulator components like the MySimulator created in the last step can only be added into simulator application. It is not possible to drag them into a regular CDP application.
- Simulator application includes SimulatorManager component. The SimulatorManager includes the TimeStep property which sets the simulation frequency for all simulator components within the application. The Autostart property (default true) decides if simulation should start automatically or not. It also has Start, Stop and Reset messages which control the simulation.
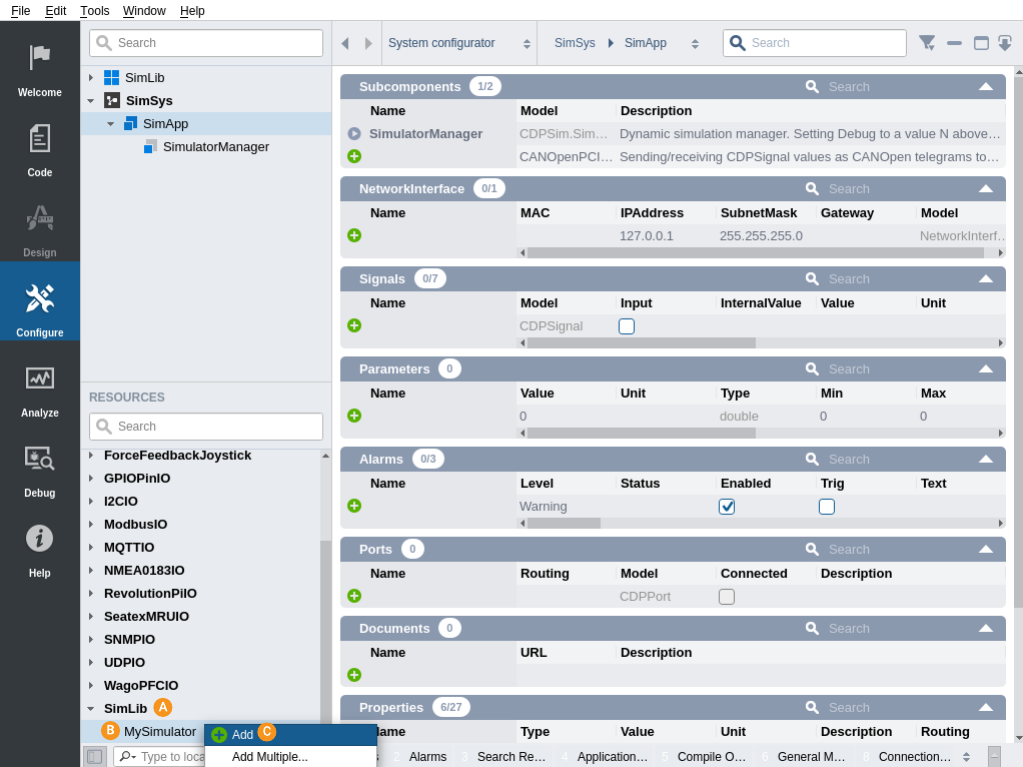
To test the MySimulator component, add it to your simulator application using the Resource tree.
How to Run the Tutorial
To run the tutorial from CDP Studio, select Configure mode, right click on the system project and select Run & Connect. See the Running and Connecting to the System tutorial for more information.
In Configure mode, open MySimulator. If the template code was unchanged, it is possible to modify the SimSignal a (acceleration) and then the StateVariables x (displacement) and v (velocity) will be affected.
For further information, see the CDP Simulator Examples and Configuration Manual.
Get started with CDP Studio today
Let us help you take your great ideas and turn them into the products your customer will love.