Adding User Authentication to Automation System
Introduction
This example demonstrates how to configure cybersecurity settings for user authentication to be compliant with IEC 62443-3-3 in an automation system. The example shows how to add a login prompt to HMI and incoming connections with Studio API, add users and user profiles, and set up access permissions. The example consists of 2 applications, a DataSource application and a GUI application. The DataSource application generates a simple Sine wave, which is displayed in a meter in the GUI application.
For detailed help on how to manage users and change cybersecurity settings, see the Security Configuration.
Project Overview
To demonstrate user authentication, two users are created with different access needs:
- Bob, the system operator, only requires access to the HMI/GUI
- John, the system administrator, requires full access to the complete system, except for the security settings
Roles are used to prevent or allow access to CDP objects. In this example, we use two roles that are defined as follows:
- Operator, this role can view and change settings (Browse, Read, Write)
- ConfigureAdmin, this role has full access (Browse, Read, Write, Change)
Users are created in Configure mode by clicking on the Security tab.

Bob and John are assigned to their respective cybersecurity roles. The simple automation system consists of
- Datasource application, access restriction set to only allowing ConfigureAdmin users
- GUI application, access restriction allowing any logged-in users
The access restrictions to applications or objects are set in the RolePermission field, found for most objects in Configure mode by clicking on Table Editor or Block Diagram tab. If the field is empty, the settings inherited from the parent or role defaults apply. To restrict specific access to an object, i.e., deny the users with the role Operator, remove all access rights for the role Operator in the pop-up editor for RolePermission by clicking on the checkboxes.
Note: Notice the LoginRole property specified on CDPBaseMainWindow in Design mode. This is an optional setting to allow access for the specified role. In this demo, it has been set to role Operator. Any user who needs to access the GUI must have this role assigned. Currently only Bob has the role Operator and is allowed to access the GUI.
How to Run the Example
To run the example from CDP Studio, open Welcome mode and find it under Examples. Next, in Configure mode right-click on the system project and select Run & Connect. See the Running the Example Project tutorial for more information.
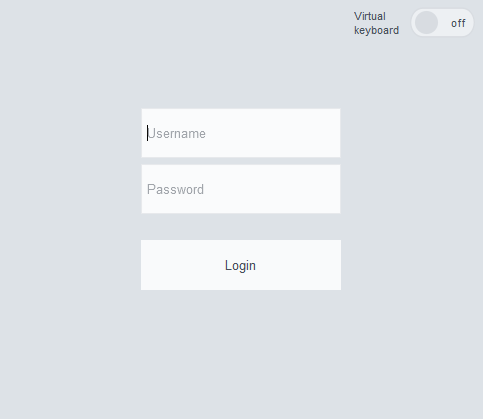
Once the system is started, you will be prompted for username and password. To log in to either CDP Studio or GUI application, use "bob" or "john" as a username and "thisismypassword" as a password. Once you log in to GUI application, you notice that user "bob" is allowed to log in while user "john" is not. Once you log in to CDP Studio, you notice that user "john" is allowed to change the system (can add/remove resources) while user "bob" is not.
Note: The login prompt can be customized by adding a "logindialog.ui" file with CDP Studio wizard and modifying it.
Get started with CDP Studio today
Let us help you take your great ideas and turn them into the products your customer will love.